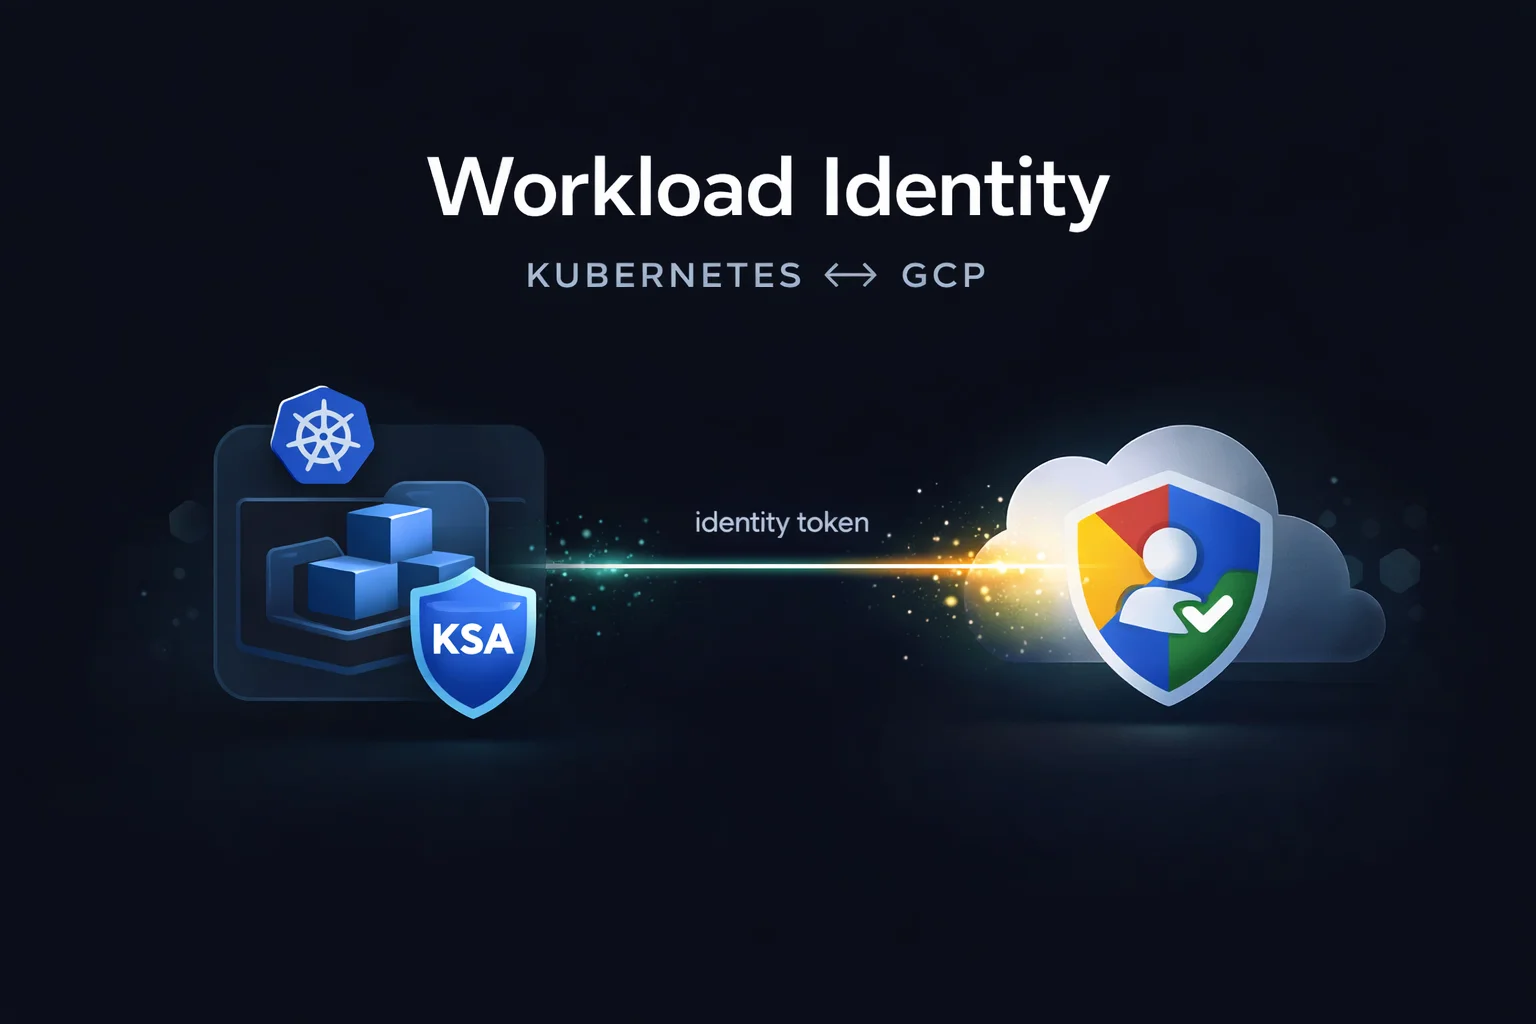
A Kubernetes pod needs to talk to a Google Cloud API. No static key, no secret mounted from a vault — just an annotation on a service account and a chain of token exchanges that most of us never see. Workload Identity makes this possible. This article takes the mechanism apart, piece by piece, and then puts it back together with tcpdump and Wireshark.
Most GKE tutorials treat Workload Identity as a configuration recipe: annotate a Kubernetes Service Account (KSA), bind it to a GCP Service Account (GSA), and the system works. What remains opaque is why it works. What actually happens when a pod authenticates to a Google Cloud API without holding any long-lived credential? Who issues the tokens, who validates them, and how does a Kubernetes identity become a GCP identity?
To answer these questions, it helps to start from the basics. A KSA is a namespace-scoped object managed by the Kubernetes API server. A GSA is a project-level identity managed by Google Cloud IAM. The two live in entirely separate worlds. Workload Identity bridges them by letting a KSA impersonate a GSA: the KSA presents its own short-lived token, and GCP’s infrastructure exchanges it — through a series of hops — for a GSA token that grants access to cloud resources. No static JSON key ever touches the pod.
The rest of this article follows that chain from end to end: first the setup, then the theory behind namespace identity, then the token relay itself, and finally a hands-on demonstration with tcpdump.
Setting the Stage: Creating Service Accounts and Configuring Workload Identity
If you are already familiar with GKE Workload Identity configuration and want to go straight to the mechanism, skip to The Token Relay Race.
We begin by creating the resources needed to observe the interaction. After authenticating with gcloud auth login, we set a few environment variables:
GCP_PROJECT_ID="<gcp_project_id>"GKE_CLUSTER_NAME="my-cluster-name"GSA="test-gsa"
Create the GSA:
gcloud iam service-accounts create ${GSA} --description="some description text" --display-name=${GSA}
Create a GKE cluster with Workload Identity enabled. Workload Identity must be enabled at cluster creation time, or later via a cluster update that sets the workload pool:
gcloud container clusters create ${GKE_CLUSTER_NAME} --workload-pool=${GCP_PROJECT_ID}.svc.id.goog
If using an existing cluster, verify that Workload Identity is active:
gcloud container clusters describe ${GKE_CLUSTER_NAME} --location=<cluster location>
The output should include:
workloadIdentityConfig:
  workloadPool: "PROJECT_ID.svc.id.goog"
Next, set up the Kubernetes side. Define K8S_NAMESPACE=<name of the namespace>, create the namespace if needed, and make it the default for the current context:
kubectl create namespace ${K8S_NAMESPACE}
kubectl config set-context --current --namespace ${K8S_NAMESPACE}
Create the KSA and annotate it with its GSA counterpart (KSA="test-ksa"):
kubectl create sa ${KSA}
kubectl annotate sa ${KSA} iam.gke.io/gcp-service-account=${GSA}@${GCP_PROJECT_ID}.iam.gserviceaccount.com
The resulting manifest should look like this:
apiVersion: v1
kind: ServiceAccount
metadata:
  annotations:
    iam.gke.io/gcp-service-account: test-gsa@<gcp project id>.iam.gserviceaccount.com
  name: test-ksa
  namespace: <name of the namespace>
Finally, bind the two identities with an IAM policy:
gcloud iam service-accounts add-iam-policy-binding ${GSA}@${GCP_PROJECT_ID}.iam.gserviceaccount.com \
  --role roles/iam.workloadIdentityUser \
  --member "serviceAccount:${GCP_PROJECT_ID}.svc.id.goog[${K8S_NAMESPACE}/${KSA}]"
That annotation on the KSA — iam.gke.io/gcp-service-account — is doing most of the heavy lifting. It tells GKE’s metadata server which GSA this KSA is allowed to impersonate. To verify, deploy a test pod with serviceAccountName: test-ksa running gcloud auth list — the output should show the GSA as the active account.
Before moving on, it is worth pausing on the --member parameter from the policy binding: serviceAccount:${GCP_PROJECT_ID}.svc.id.goog[${K8S_NAMESPACE}/${KSA}]. This string is an example of Namespace Identity, a concept that deserves a brief digression.
Excursus: Namespace Identity and Identity Sameness
When Workload Identity is enabled, GCP assigns the project a unique identity namespace of the form PROJECT_ID.svc.id.goog. Within that namespace, a KSA is identified as:
PROJECT_ID.svc.id.goog[KUBERNETES_NAMESPACE/KUBERNETES_SERVICE_ACCOUNT]
where:
PROJECT_ID.svc.id.googis the identity namespace created by GKE;KUBERNETES_NAMESPACEis the namespace the KSA belongs to;KUBERNETES_SERVICE_ACCOUNTis the KSA name.
This leads to a subtle property: because both clusters share the same workload identity pool (PROJECT_ID.svc.id.goog), if two different GKE clusters within the same project both contain a namespace with the same name and a KSA with the same name, IAM sees both KSAs as the same principal. Both can impersonate the same GSA.
An example makes this concrete. Imagine an organization with two smart buildings in different cities, each managed by a separate GKE cluster. Both buildings have a keyless access system. In each cluster there is a namespace called access and a KSA called keyless-entry, with permissions to reach the building’s authentication credentials.
Because both clusters share the project-level identity namespace PROJECT_ID.svc.id.goog, both KSAs resolve to the same identity: PROJECT_ID.svc.id.goog[access/keyless-entry]. A single IAM binding is enough to grant both of them access to the same GSA — and by extension, to the same cloud resources. Employees authorised on that project can move between buildings without any additional configuration.
This is powerful for simplified management, but it also means that naming collisions across clusters are not harmless. Choosing namespace and KSA names deliberately is essential.

Diagram illustrating namespace identity and identity sameness, created by Christian Del Monte using PlantUML.
The Token Relay Race
Configuration is in place. The KSA can impersonate the GSA. But what actually happens at runtime? The answer is a chain of token exchanges — a relay race in which different servers pass different tokens from hand to hand.
Four actors are involved. The Kubernetes API Server issues signed JWTs for KSAs via projected service account tokens. The GKE Metadata Server (GKE MDS) sits on every node and orchestrates the token exchange — it does not persist credentials, only brokers short-lived token exchanges on behalf of pods. Google’s Security Token Service (STS) and Cloud IAM handle the federation and impersonation steps. And the GCP Resource Server is the final destination — the cloud service the application actually wants to reach.
Requesting a GSA Token
The exchange proceeds as follows:
-
Kubernetes mounts a projected service account token into the pod at
/var/run/secrets/kubernetes.io/serviceaccount/token. This is a short-lived JWT signed by the cluster’s OIDC issuer, containing the KSA’s identity and an expiration time. The pod does not request it — the kubelet provisions it automatically. -
The application (or a client library like
google-cloud-sdk) presents this KSA JWT to the GKE Metadata Server, requesting a GSA token. -
The Metadata Server forwards the KSA JWT to Google’s Security Token Service (STS).
-
STS validates the JWT against the cluster’s OIDC issuer and, if valid, issues a federated access token.
-
The Metadata Server uses this federated token to request impersonation of the target GSA from Cloud IAM. IAM checks the Workload Identity binding (
roles/iam.workloadIdentityUser) and, if the KSA is authorized, issues an OAuth2 access token representing the GSA. -
The Metadata Server returns the GSA access token to the application.
Using the GSA Token
-
The application sends a request to the GCP Resource Server (Cloud Storage, BigQuery, etc.), including the GSA token as a Bearer token in the
Authorizationheader. -
The Resource Server validates the token against Google’s OAuth2 infrastructure — not the Metadata Server. The Metadata Server’s role ends at token issuance; it is not involved in verification. If the token is valid and carries sufficient IAM permissions, the Resource Server grants access to the requested resources.

Sequence diagram of the process created by Christian Del Monte using PlantUML.
Capturing a GSA Token with tcpdump
Theory is useful, but seeing the tokens move across the wire makes the mechanism tangible. The Metadata Server listens at 169.254.169.254 and the pod-to-metadata-server traffic is plain HTTP (not TLS), so the token exchange is directly observable. Traffic from the Metadata Server to Google’s backend (STS, IAM) is TLS-encrypted and not visible in the capture. The plan is straightforward:
- Capture traffic to and from
169.254.169.254using tcpdump. - Run a pod that triggers KSA-to-GSA impersonation.
- Inspect the capture and locate the GSA token.
- Verify the token against Google’s OAuth 2.0 endpoint.
Step 1: Capture the Traffic
Deploy a DaemonSet that runs tcpdump on every node:
apiVersion: apps/v1
kind: DaemonSet
metadata:
  name: tcpdump-daemonset
spec:
  selector:
    matchLabels:
      name: tcpdump
  template:
    metadata:
      labels:
        name: tcpdump
    spec:
      hostNetwork: true
      containers:
        - name: tcpdump
          image: google/cloud-sdk:slim
          command:
            [
              "/bin/sh",
              "-c",
              "apt-get update && apt-get install -y tcpdump && tcpdump -i any -vv host 169.254.169.254 -w /host/tmp/metadata.pcap",
            ]
          volumeMounts:
            - name: host-tmp
              mountPath: /host/tmp
          securityContext:
            capabilities:
              add: ["NET_ADMIN", "NET_RAW"]
      volumes:
        - name: host-tmp
          hostPath:
            path: /tmp
Step 2: Trigger the Impersonation
With the DaemonSet running, start a pod that uses the test-ksa service account and accesses a Google Cloud service. This triggers the full token relay described above.
Step 3: Inspect the Capture
Download the .pcap file from one of the DaemonSet pods:
kubectl cp <tcpdump-pod>:/host/tmp/metadata.pcap ./metadata.pcap
Open the file in Wireshark and filter for the Metadata Server:
ip.addr == 169.254.169.254
Right-click on an HTTP request to 169.254.169.254, select “Follow” → “HTTP Stream”, and look for the JSON response containing the access_token field. That is the GSA token.

Screenshot of Wireshark illustrating step 3 taken by Christian Del Monte.
Step 4: Verify the Token
Google’s OAuth 2.0 token info endpoint can confirm what the token represents:
curl -H "Authorization: Bearer <GCP_OAUTH2_TOKEN>" \
  https://www.googleapis.com/oauth2/v1/tokeninfo
The response should look like this:
{
  "issued_to": "12345678910234456656",
  "audience": "12345678910234456656",
  "scope": "https://www.googleapis.com/auth/userinfo.email https://www.googleapis.com/auth/cloud-platform",
  "expires_in": 1043,
  "email": "test-gsa@<your GCP project id>.iam.gserviceaccount.com",
  "verified_email": true,
  "access_type": "online"
}
The email field confirms that the token belongs to the GSA — the same one the KSA was configured to impersonate.
Alternative: Getting a GSA Token with a Direct REST Call
There is a simpler way to observe the same exchange without deploying tcpdump. Since the Metadata Server accepts requests from any pod on the node, we can call it directly using the KSA token that Kubernetes mounts into every pod.
Retrieve the token:
kubectl exec -it <pod-name> -- cat /var/run/secrets/kubernetes.io/serviceaccount/token
Then request the GSA token:
TOKEN=$(kubectl exec -it <pod-name> -- cat /var/run/secrets/kubernetes.io/serviceaccount/token)

curl -H "Authorization: Bearer $TOKEN" \
  -H "Metadata-Flavor: Google" \
  "http://169.254.169.254/computeMetadata/v1/instance/service-accounts/default/token"
The response contains a short-lived OAuth2 access token representing the GSA — the same token we captured with Wireshark. The difference is only in the method of observation; the underlying mechanism is identical.
Workload Identity is often described as “Kubernetes authentication for Google Cloud.” In practice it is a federated identity system built on OIDC token issuance, STS token exchange, and IAM impersonation — with a metadata server that orchestrates the chain from the node. A pod presents a Kubernetes identity and receives a GCP identity in return, with no static credential ever stored on disk. Understanding that architecture turns a black-box configuration into a debuggable system.
Disclaimer: A newer feature called Workload Identity Federation for GKE allows KSAs to be referenced directly using a principal identifier in IAM policies without using impersonation. This is not the subject of this article.
References
- Workload Identity Overview — Google Cloud Documentation
- Kubernetes Service Accounts — Kubernetes Documentation
- GCP IAM Service Accounts — Google Cloud Documentation
- IAM Policy Binding — Google Cloud Documentation
- tcpdump
- Wireshark